

Step by step guide to cork gifts: 5 projects
TL;DR:
- Cork is a versatile and eco-friendly material ideal for personal, sustainable gifts like coasters, trivets, and keychains. Proper preparation, including sanitizing and selecting the right adhesives, ensures durable and attractive finished projects. Personalization and eco-conscious packaging enhance the meaningfulness of handmade cork gifts, emphasizing patience and storytelling.
Cork is one of the most satisfying materials you can work with when you want a gift that feels both personal and genuinely kind to the planet. This step by step guide cork gifts resource walks you through everything: picking the right tools, sanitising your corks safely, and completing five beginner-friendly projects that people will actually use. Whether you are collecting corks from dinner parties or sourcing them fresh, you will find that cork is forgiving, lightweight, and endlessly versatile. Better still, every piece you make carries a story worth giving.
Table of Contents
- Key takeaways
- Materials and tools for cork gift crafts
- Step by step cork projects: coasters, trivets, and keychains
- Troubleshooting common cork crafting problems
- Personalising and presenting your cork gifts
- My honest take on cork crafting
- Ready-made cork gifts worth exploring
- FAQ
Key takeaways
| Point | Details |
|---|---|
| Choose natural corks | Natural cork bonds better than synthetic and handles adhesives without melting under heat. |
| Sanitise before crafting | A vinegar steam bath cleans corks without chemicals and improves paint and glue adhesion. |
| Use the right adhesive | E6000 is the most durable option for cork gifts; tacky glue suits lighter, decorative pieces. |
| Troubleshoot before finishing | Check bond strength and edges before adding decoration to avoid wasting finished work. |
| Package sustainably | Wrap finished cork gifts in recycled paper or fabric to match the eco-conscious spirit of the craft. |
Materials and tools for cork gift crafts
Before you cut a single cork, getting your materials right makes the difference between a gift that lasts and one that falls apart after a week. The good news is that most of what you need is either already at home or inexpensive to source.
Choosing the right corks
Not all corks are equal. Natural cork bonds better than synthetic alternatives, which can melt under heat and resist adhesives. If you are collecting used wine corks, aim for natural ones. You can usually tell by the texture: natural cork feels slightly rough and has visible lenticels (the small pores on the surface). Synthetic corks feel smoother and more plastic-like.
A mix of shapes and sizes adds character to your finished projects. Whole corks work well for keychains and garlands. Half-sliced corks are better for coasters and trivets because they sit flat.
Sanitising your corks safely
Reused wine corks need cleaning before any crafting begins. The most effective method is a vinegar steam bath: hold your corks over a boiling mixture of white vinegar and water for roughly eight minutes, then leave them to dry for 48 hours. This kills microbes, removes wine residue, and opens the cork’s surface lenticels gently, which actually improves how well paint and glue adhere later.
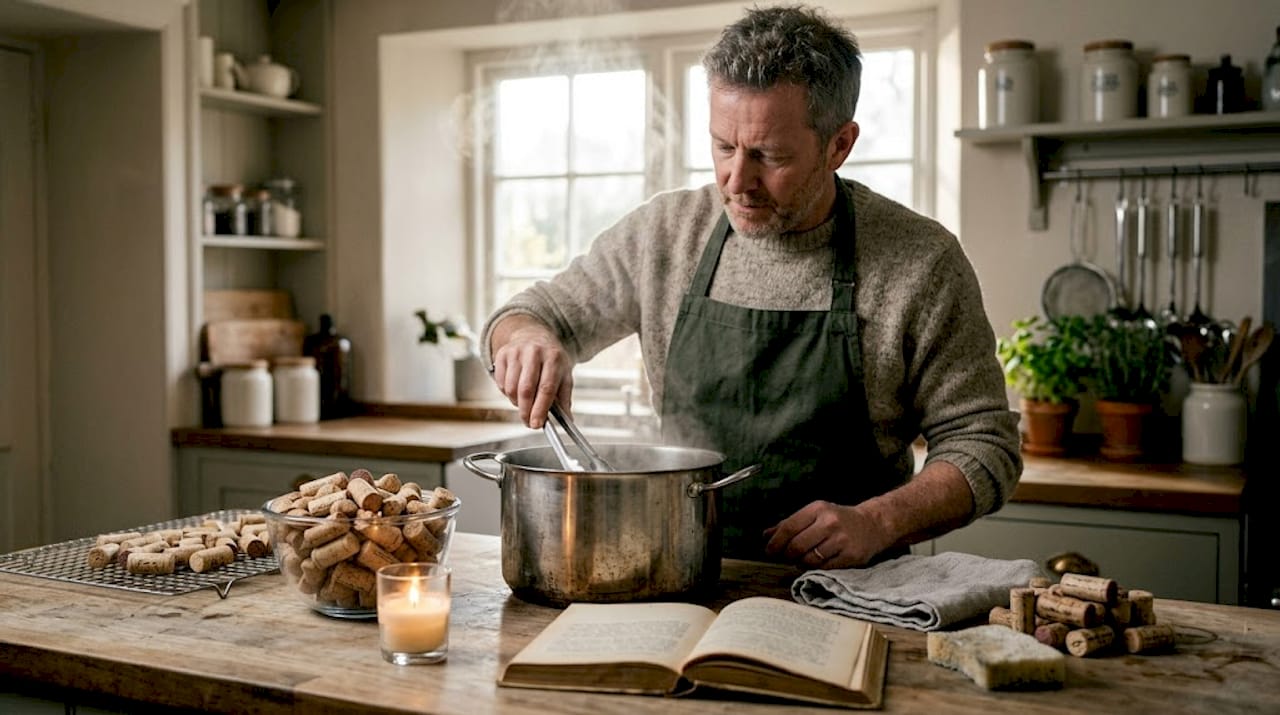
Pro Tip: Never soak corks directly in water. Prolonged submersion causes them to swell and crumble, making them nearly impossible to cut cleanly.
Adhesives: what to use and when
| Adhesive | Best for | Drying time | Notes |
|---|---|---|---|
| E6000 | Coasters, trivets, keychains | 24 to 72 hours | Waterproof, flexible, very durable bonds |
| Tacky glue | Decorative light pieces | 30 to 60 minutes | Clear-drying, good for porous surfaces |
| Hot glue | Quick assembly, garlands | 1 to 5 minutes | Sets quickly but less durable than E6000 |
Adhesives for cork must be flexible and capable of mechanical interlocking because cork is porous and moves slightly with temperature changes. A rigid glue cracks the bond over time.
Basic tools you will need
- Sharp craft knife or serrated knife for cutting corks
- Sandpaper (120 grit and 220 grit) for smoothing edges
- Small clamps or rubber bands to hold pieces while glue cures
- Ruler and pencil for marking cuts
- Cutting mat to protect your work surface
- Drill with a small bit if making keychains or garlands
Set up in a well-ventilated area, particularly when using E6000, which has strong fumes. A simple table near an open window is all you need.
Step by step cork projects: coasters, trivets, and keychains
These three popular cork gift projects cover a range of skill levels and end up as genuinely useful presents. Coasters and trivets suit anyone from students to seasoned homeowners. Keychains are personal and portable.
Cork coasters
A set of four coasters costs very little to make but looks polished enough to give confidently.
- Collect 28 to 32 natural corks per coaster set (seven to eight per coaster works well for a square shape).
- Slice each cork in half lengthwise using a sharp serrated knife and a steady hand on a cutting mat.
- Sand the flat cut faces with 120 grit sandpaper, then finish with 220 grit for a smooth surface.
- Arrange your cork halves face-down in a square grid on a piece of baking paper, flat side up.
- Apply E6000 between each cork where they touch. Press firmly and hold for 30 seconds.
- Wrap the assembled coaster tightly with rubber bands and leave to cure for 24 hours.
- Once dry, cut a piece of thin cork sheet or felt to the same size and glue it to the underside as a protective backing.
- Leave to cure fully (up to 72 hours) before use or gifting.
Pro Tip: Work in a grid pattern and use a ruler to keep your arrangement square. Crooked coasters are difficult to fix once the glue sets.
Cork trivets
The method for a trivet is similar to a coaster but uses whole corks sliced in half rather than the same flat-face arrangement.
- Slice around 40 to 50 corks in half lengthwise, which creates a natural flat base.
- Sand all cut edges lightly.
- Arrange the halves in a circular or rectangular pattern with the rounded backs facing up (this creates the attractive bumpy surface that lifts hot pans clear of the table).
- Glue each cork to its neighbours using E6000 along the side contacts.
- Clamp the whole trivet together with rubber bands or place heavy books on top while it dries.
- Allow 48 hours of drying time, then test by pressing firmly on all areas to check for weak joints.
- Add a cork sheet backing for a clean underside.
Cork keychains
Keychains are quick to make and feel surprisingly thoughtful as small gifts. They suit a cork crafting tutorial for complete beginners.
- Select plump, intact whole corks.
- Using a small drill bit, drill a hole straight through the narrow top of each cork. Run a skewer through the hole immediately after drilling to clear any debris and prevent thread snagging.
- Sand the cork surface lightly with 220 grit paper.
- Thread a small key ring through the hole. A jump ring from a craft shop makes this easier.
- Optionally, stamp, paint, or wood-burn initials or a small design onto the cork before threading.
Troubleshooting common cork crafting problems
Even with good preparation, things occasionally go wrong. Knowing how to fix problems quickly saves both time and materials.
Weak bonds and joints
If a cork pulls away after drying, the surface was likely oily, dusty, or too smooth. Roughen both surfaces lightly with sandpaper, wipe clean, and re-apply E6000. Clamp firmly and allow the full 72-hour cure before testing again.
Patience is the most underrated tool in cork crafting. Rushing the curing stage is the single most common reason finished pieces fall apart.
Crumbling or breaking corks
Old or very dry corks are more prone to splitting during cutting. Keep your knife sharp and score lightly before cutting fully through. If a cork crumbles, set it aside for filling gaps in larger projects rather than discarding it.
Pro Tip: Store your cork collection in a sealed container with a small damp sponge nearby. A slight moisture level keeps corks pliable and less likely to crack during cutting.
Uneven edges and messy finishes
Sand after gluing, not before, if your edges are ragged. A sanding block (sandpaper wrapped around a small wood offcut) gives you more control than a loose sheet. Work in one direction rather than back and forth to avoid lifting cork fibres.
- Check bond points at every stage, not just at the end
- Wipe away excess glue immediately with a damp cloth before it sets
- Store finished pieces flat during drying, never stacked
Personalising and presenting your cork gifts
Once the construction is solid, the real creative fun begins. Cork takes colour, texture, and embellishment beautifully, and upcycled cork gifts carry extra meaning when the corks themselves come from shared occasions like dinner parties, celebrations, or travels.
Decorating your pieces
- Use acrylic craft paints for bold designs. Because you have already steam-cleaned the corks, paint adheres well without a primer.
- Stamp monograms or simple patterns onto cork surfaces with ink pads and rubber stamps.
- Wrap sections of cork pieces with natural twine or jute for a rustic look that requires no glue at all.
- Attach small beads or charms to keychain rings for extra personality.
Practise your design on a spare cork before applying it to the finished piece. Cork is forgiving but a thick layer of paint can obscure the natural grain that makes it beautiful in the first place.
Practical additions
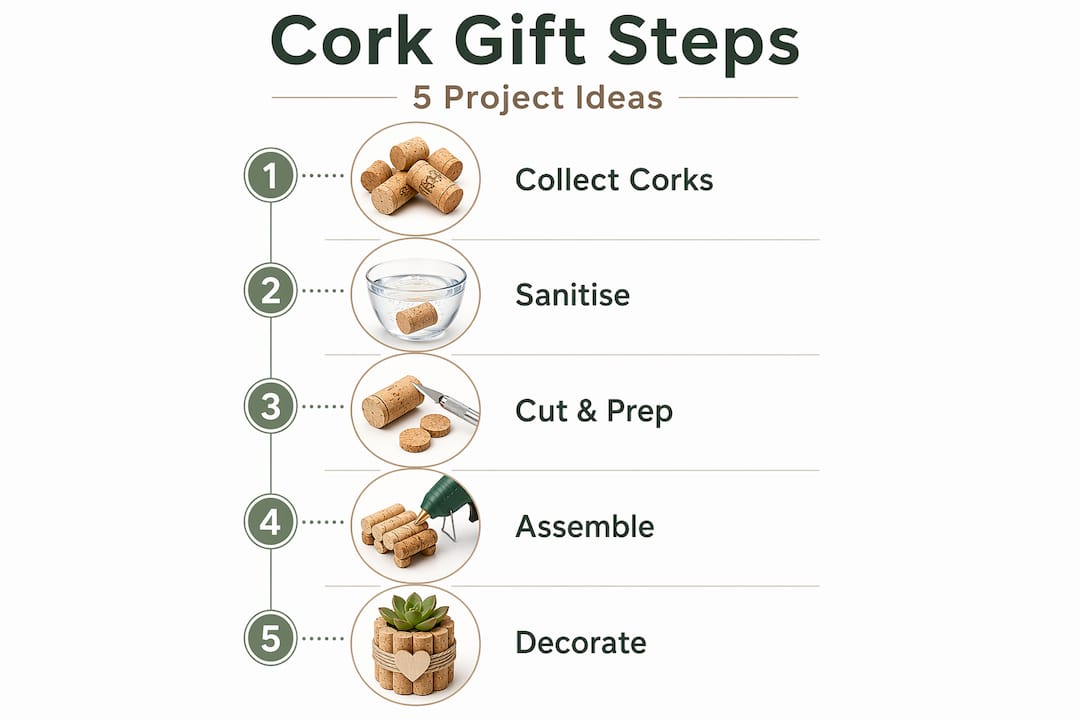
Adding function lifts a decorative piece into something genuinely useful. Glue small magnets to the back of a decorated cork slice to create a striking fridge magnet. Attach a pin back to a cork and stamp a design on the front for a wearable brooch. For the sustainability-minded recipient, these touches signal real thought.
Sustainable gift wrapping
- Wrap coasters and trivets in recycled brown paper and tie with a sprig of dried botanicals.
- Place keychains in a small cotton drawstring bag rather than a plastic box.
- Include a handwritten note explaining which corks came from which occasion. This storytelling layer transforms a handmade item into something genuinely memorable.
The eco packaging choices you make at the gifting stage are as much a part of the gift as the object itself.
My honest take on cork crafting
I have been making and recommending cork gifts for several years now, and what strikes me every time is how quickly people underestimate the material. They expect something flimsy or fiddly, and then they hold a finished trivet that is solid, warm-looking, and clearly handmade with care. That moment of surprise is worth quite a lot.
What I have found most useful to communicate is this: cork rewards patience more than skill. The people who produce the neatest work are not necessarily the most experienced crafters. They are the ones who let each stage dry fully, who sand twice when once seems enough, and who resist the urge to rush towards the decoration stage before the structure is sound.
I also think the environmental angle is undervalued in most DIY discussions. Collecting corks from meaningful occasions and turning them into gifts adds a dimension of personal storytelling that no shop-bought item can replicate. The cork from a birthday dinner, a wedding toast, or a quiet Tuesday evening with friends carries something intangible. That is what makes these handmade cork gifts feel genuinely generous rather than simply thrifty. Make the imperfections part of the design, not something to apologise for.
— Aaron
Ready-made cork gifts worth exploring
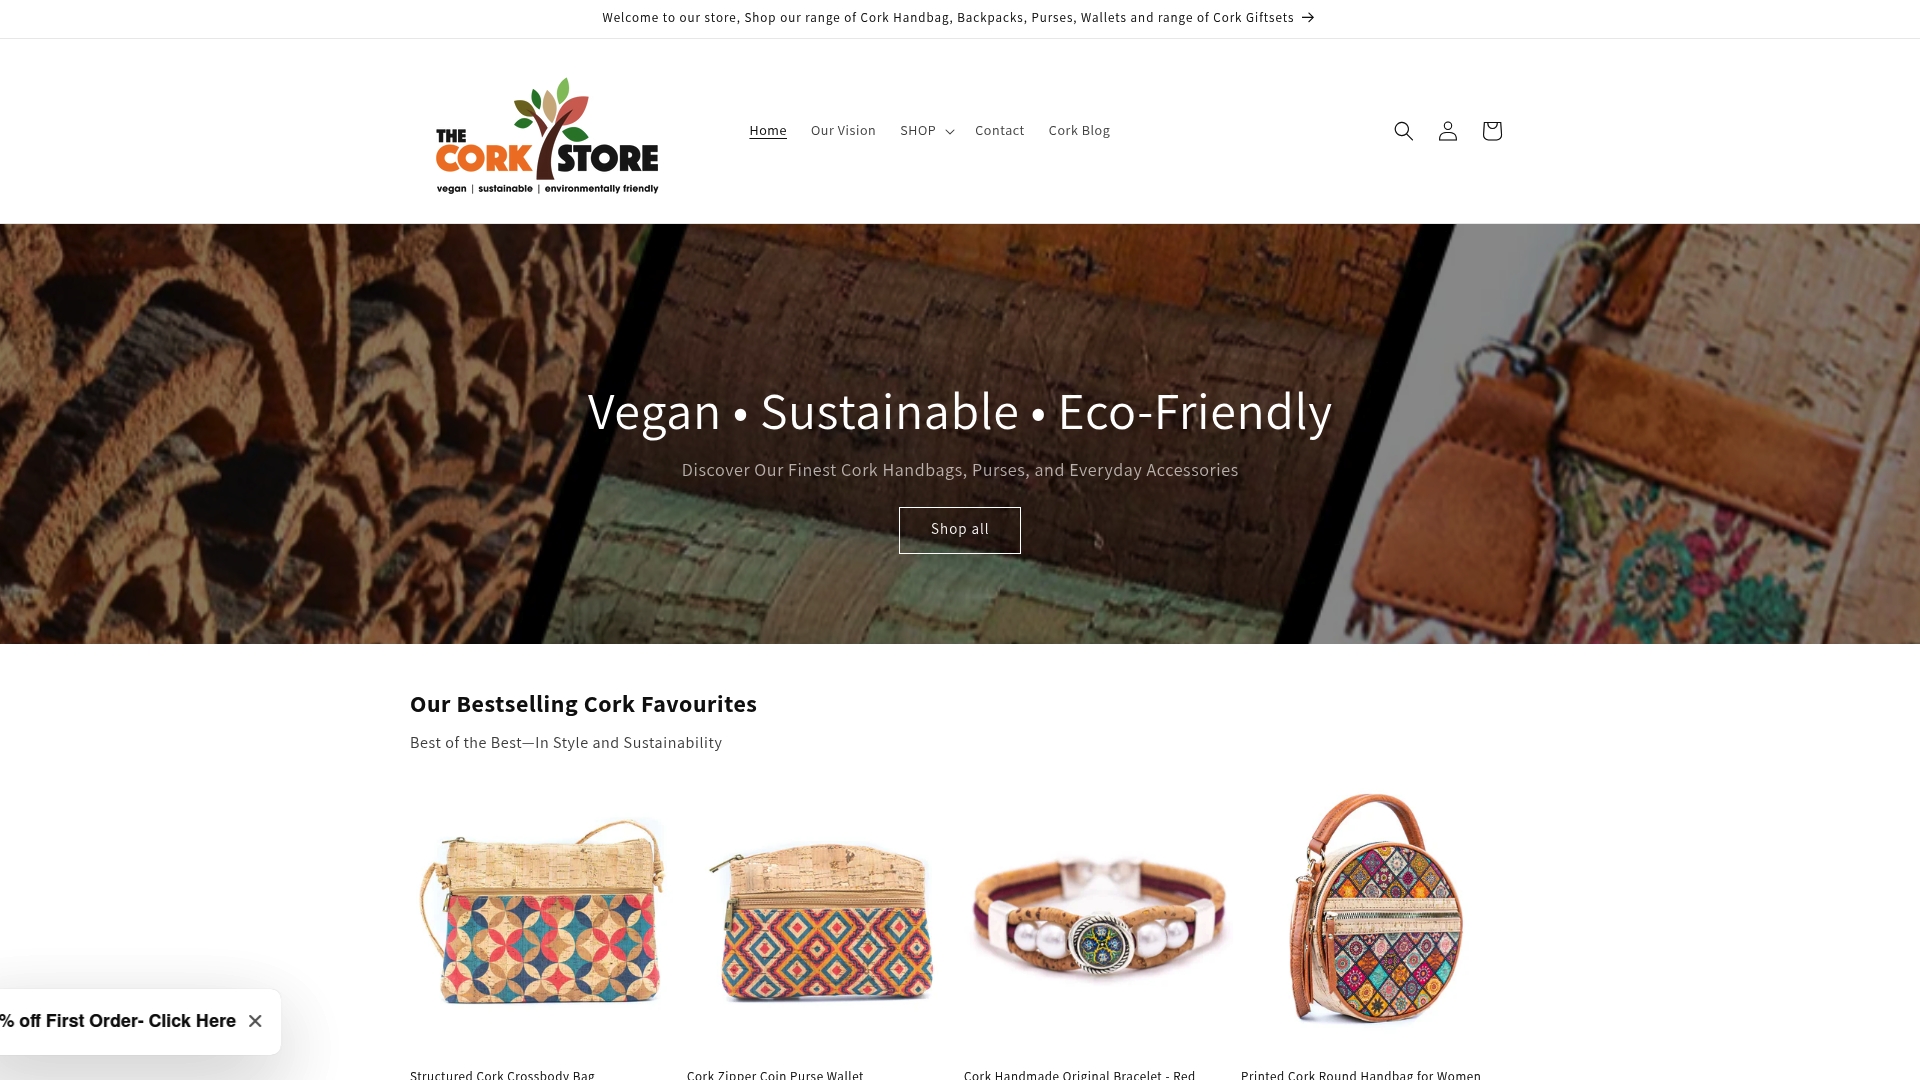
If you love the idea of cork gifts but want to complement your handmade pieces with something professionally crafted, Thecorkstore has you covered. Their collection of vegan cork gift products includes wallets, purses, and stylish accessories made from sustainably harvested cork, all cruelty-free and built to last. These make excellent additions to a handmade gift set, pairing a DIY coaster set with a cork wallet, for instance, creates a cohesive eco-conscious gift that feels genuinely considered. Every product reflects the same values you practise when you craft by hand: respect for materials, care for the planet, and a preference for things made well. Browse the full collection at Thecorkstore for inspiration or a ready-made option when time is short.
FAQ
What is the best glue for cork gift projects?
E6000 adhesive is the most reliable choice for durable cork gifts such as coasters and trivets, offering waterproof and flexible bonds that cure fully in 24 to 72 hours. Tacky glue works for lighter decorative pieces where strength is less critical.
How do you sanitise wine corks before crafting?
An eight-minute vinegar steam bath followed by 48 hours of drying kills microbes and removes residue without chemical damage, and it also opens the cork’s surface to improve paint and glue adhesion.
Can beginners make cork gifts at home?
Yes. Cork coasters and keychains are ideal starting points because they require minimal tools, and the step by step cork projects in this guide are written specifically for first-time crafters with no specialist skills needed.
How do you personalise a cork gift?
Acrylic paints, rubber stamps, natural twine, and small beads all work well on cork surfaces. Corks collected from meaningful occasions add a storytelling layer that makes the gift more personal than any decoration alone.
Are cork gifts genuinely eco-friendly?
Cork is harvested from the bark of cork oak trees without cutting them down, making it a renewable and sustainable material. Upcycling used wine corks adds another layer of sustainability by keeping materials out of landfill.